Have you ever wondered how to photograph the northern lights? Here is an eight-step guide by Sr. Lights Over Lapland photography guide Chris Hodgson!
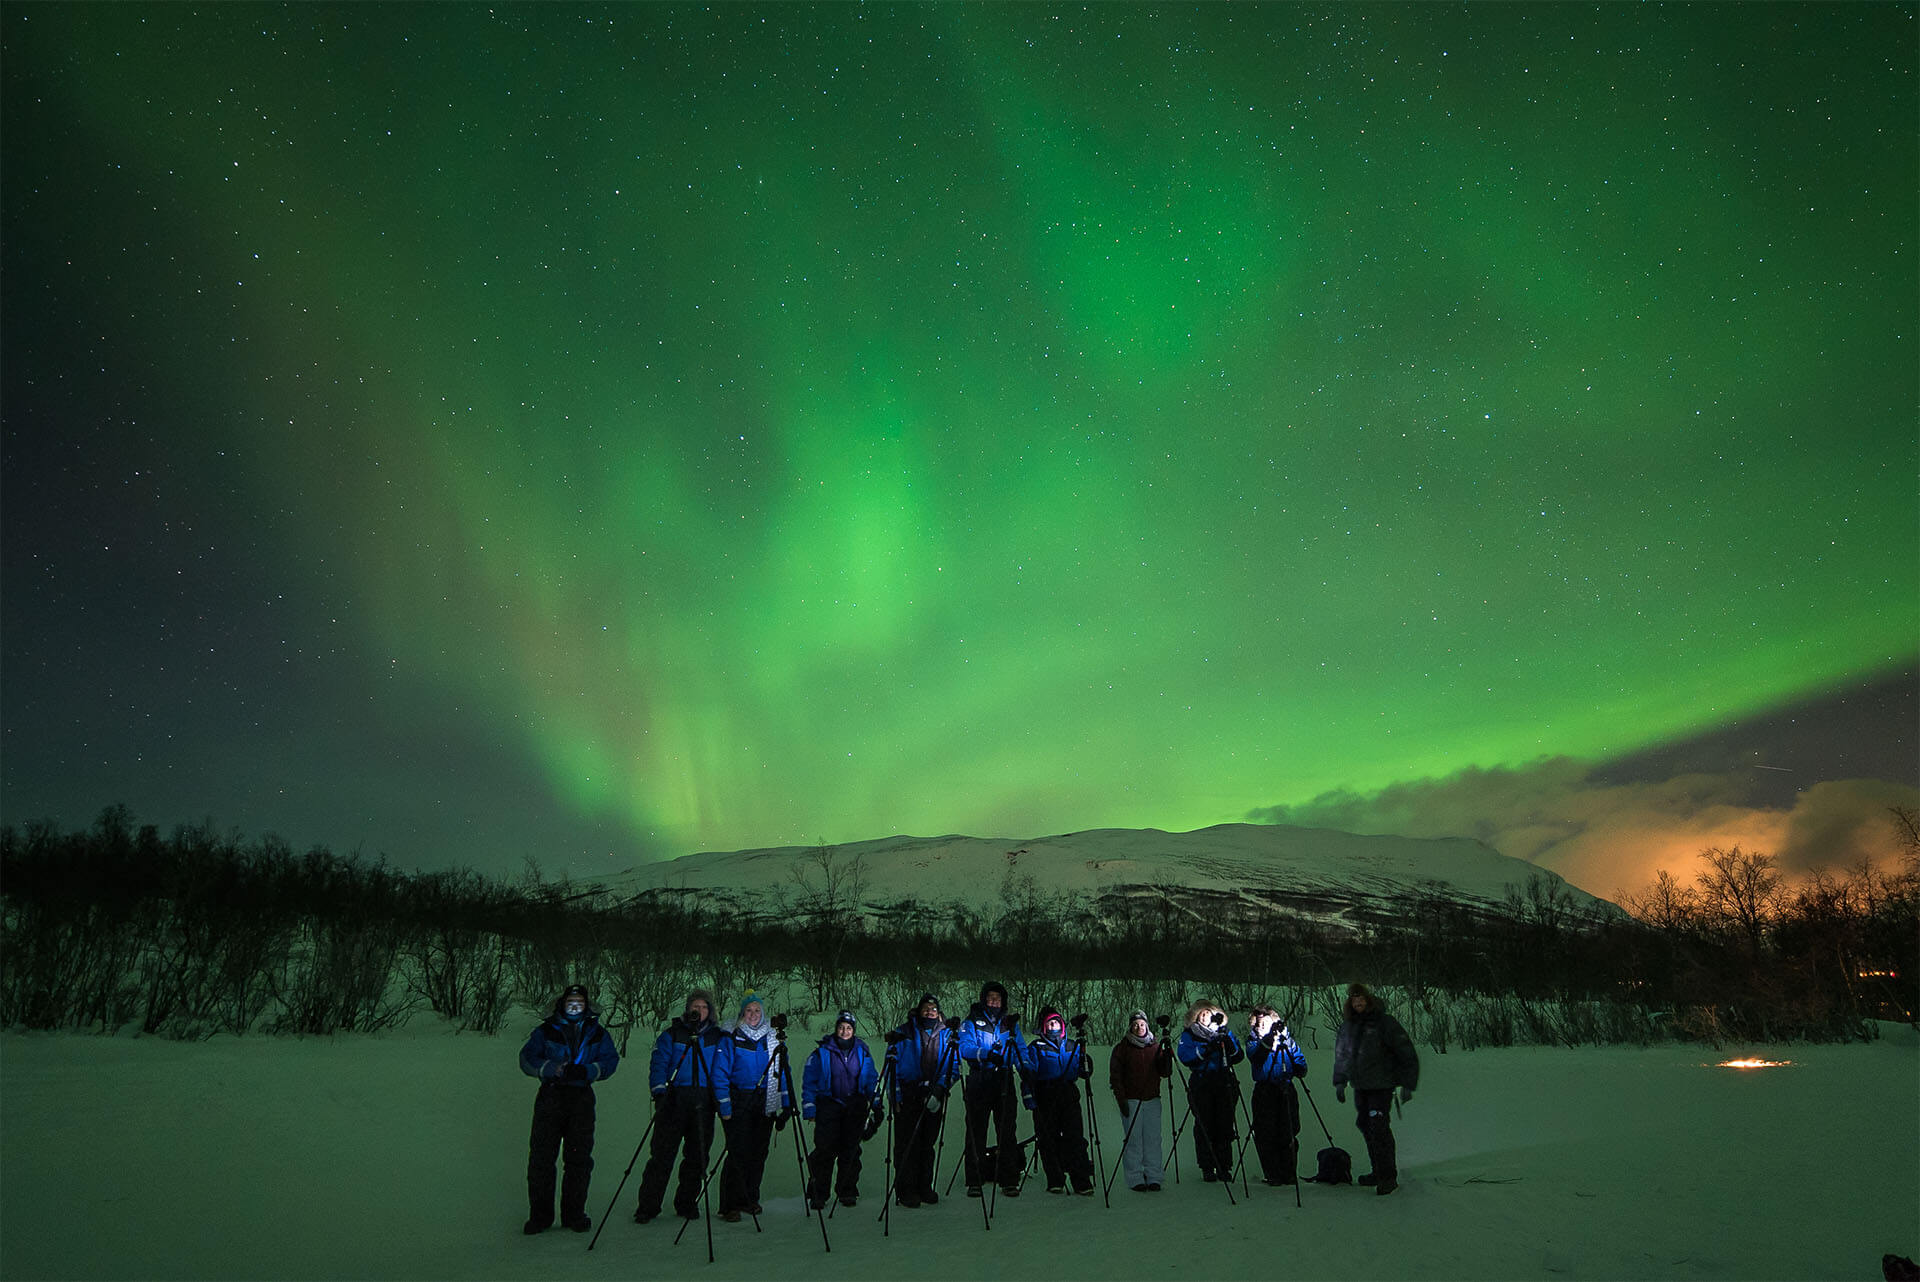
If you research how to photograph the aurora you will be bombarded with so much information you probably won’t know where to begin. Fortunately, our highly trained guides teach hundreds of non-photographers every year. In fact we can have you trained in around 30 minutes, even if you’ve never picked up a camera before! So after a few thoughts on location and equipment here’s a simple step-by-step guide on “how to successfully photograph the aurora”:
Location
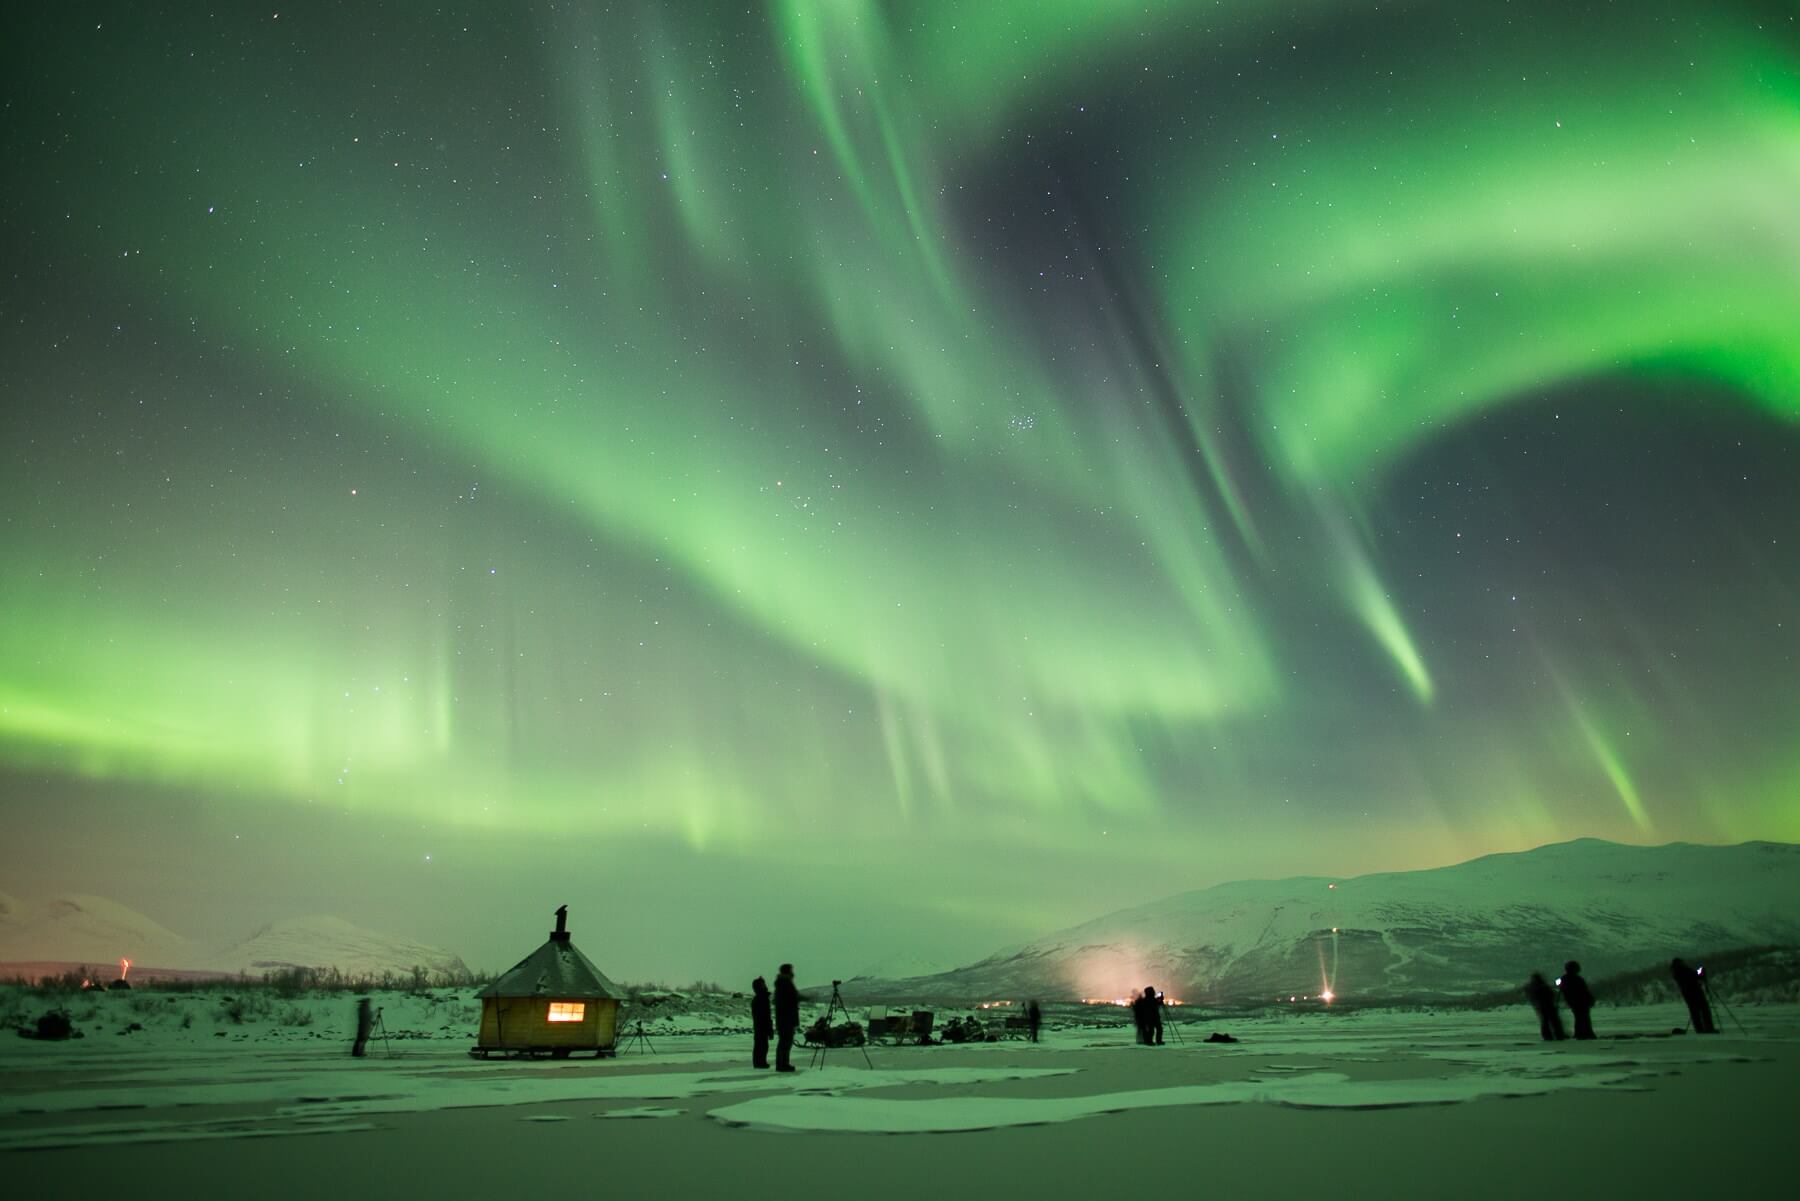
Dark skies with clear views to the north are essential to see the aurora and the closer you can get to the Artic Circle the better, even better get inside it. There are numerous destinations around the world which have developed a reputation for aurora sightings, so do your research, and certainly study local weather patterns as cloudy skies can ruin any aurora adventure. We’re obviously biased to Abisko so we’ll talk about the unique weather phenomenon it has in a future blog.
Equipment
Ask any forum about what equipment is needed and you will be bamboozled into buying the most expensive cameras and fastest lenses. It is however possible to photograph the aurora (and stars) on pretty much any modern digital single lens reflex (DSLR) available on the market with the lens it comes with. So don’t feel pressured into spending lots of money on new kit.
You will also need a sturdy tripod, which ideally extends to full body height. Sturdy means stable in wind, and the Arctic climate is one of the windiest I’ve ever worked in. Height is important if you are working in deep snow, it also saves you from being hunched down for your stay. Trust me, your back will appreciate it!
The simplest solution to the equipment dilemma is to use a tour company that provides equipment for you to use. No extra weight to carry, (I lovingly call my camera bag “the burden”) and no extra expense on new equipment or airport extra baggage fees. The money saved could be invested into your dream trip!
- Focus
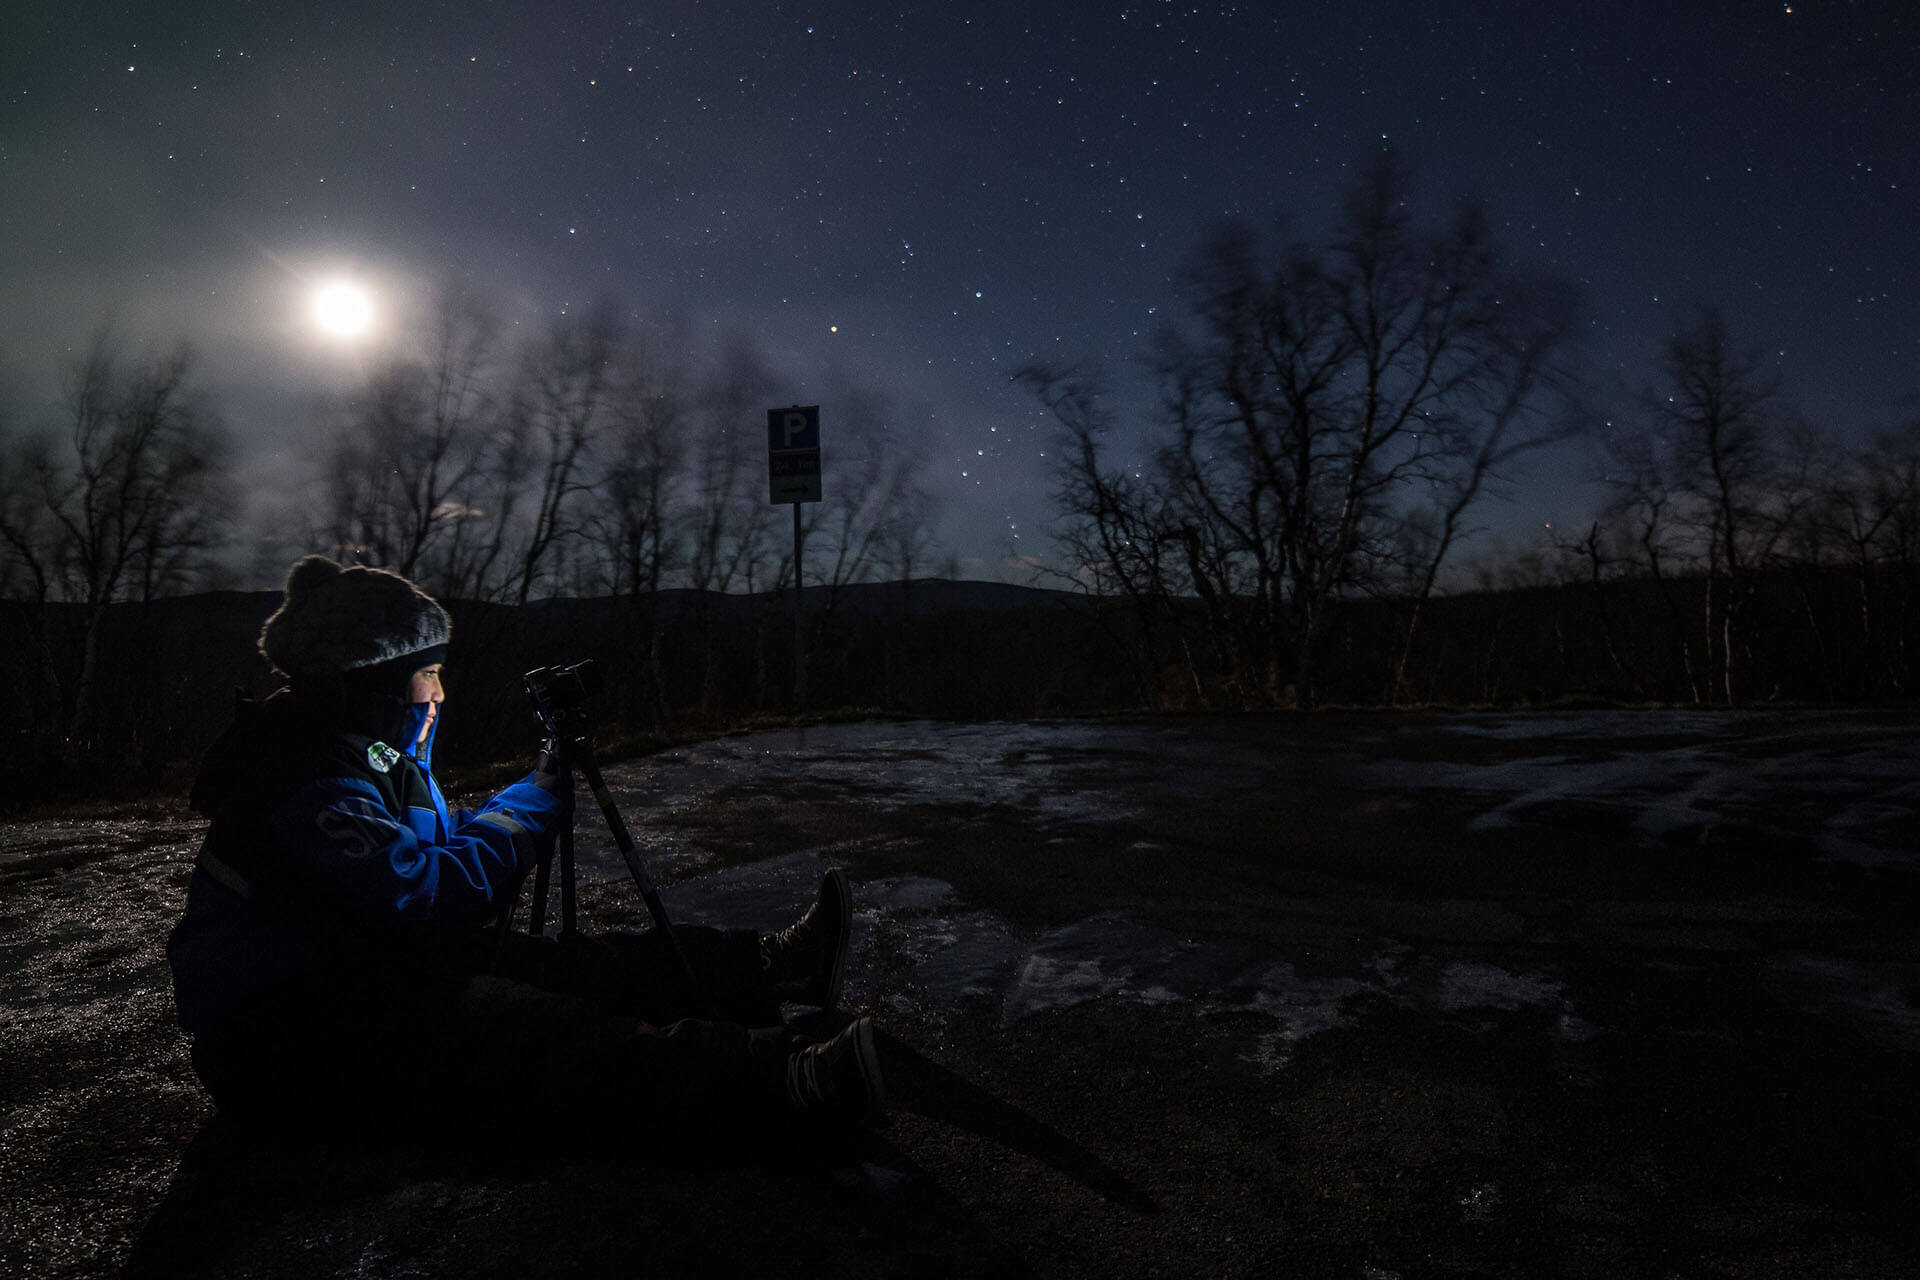
Your focus needs to be set to infinity, which means the maximum distance the lens can focus. Depending on your lens this can be really easy, or awkwardly difficult, especially when you have cold fingers.
If you have an infinity symbol on your lens, just rotate it until the ∞ symbol appears by the focus marker and leave it alone for the rest of the night. It is worth checking during the day time whether this is accurate as a lot of lenses require a slight adjustment. Simply focus at ∞ during the day, take a picture of something a long way away like a distant mountain. Then zoom in on your image to see if it’s in focus. If it needs an adjustment, use live view on the same focus point with the digital zoom at it’s fullest and gently turn the lens till it is in focus. Once you have adjusted make a mental note or mark on the lens body where the new infinity spot is located. It will usually be within a few mm’s away from the original mark.
If there is no symbol but you have a hard stop then action the same steps as above but mark the lens body and barrel with a line that you can marry up together to achieve infinity focus.
If there is no symbol or hard stop (as in the lens body keeps turning without hitting a stop when you try and focus) then it becomes more tricky. You have two options, set infinity during the day by focusing on a distant mountain and then taping your lens together so the focus can’t be turned. Or, shine a light when dark on an object as far away as possible and focus on that. The moon or distant light sources also make a good target. Simply turn your focus ring until the light source becomes it’s smallest point. The smaller a light point is, the more in focus it is becoming. If you are using a wide angle lens then anything over 25m away will do the job.
This is another great reason to go with a guide, they can check and set the focus for you in seconds and keep checking for you throughout the night. There is nothing worse than getting home to find your images slightly blurry.
- ISO
Your minimum ISO needs to be set to 1600. If you are using a camera that can handle a higher ISO then by all means use it, especially when the aurora is very active.
- Aperture
Set to wide open, or the smallest number that the f will set to. If you are using a standard lens this will be between f3.5-f4, a faster lens will be f1.8-f2.8
- Shutter Speed
This depends on the amount of available light (Moon), aperture of the lens and the strength of the aurora. We would normally start around 10- 15 seconds and adjust after a few test shots. The darker the sky and/or weaker the aurora results in a longer time, anything up to 30 seconds. The brighter the sky and/or stronger the aurora results in a shorter shutter speed, anything down to around 5 seconds. If your lens is considered a fast lens with an aperture of f2.8 or wider then you can be shooting down to 0.5 seconds in an active display. Faster lenses are recommended but they are also very heavy and expensive, you are far better hiring one from your tour company.
REMEMBER THE FASTER THE SHUTTER SPEED THE MORE DETAIL IN THE AURORA YOU RECORD/THE SLOWER THE SHUTTER SPEED THE MORE COLOUR/LESS DETAIL YOU RECORD.
(Practice all the above settings in the dark so they become instinctive, using your light to use your camera ruins yours and other people’s images).
Step-by-step Aurora photography guide
- Mount your camera on the tripod and point to the north.
- Turn off all torch lights as they will ruin yours and other people’s images.
- Double check your focus using one of the methods above.
- If there is an obvious aurora start at 10- 15 seconds and then adjust your settings after your first image.
- If there is no visible aurora change your shutter speed to 25-30 seconds and point at clear patches of sky across the northern horizon.
- Keep in mind that the calmer the aurora forecast is, then the lower on the horizon the aurora may appear.
- Keep checking your lens for ice buildup, and that you are still in focus.
- Have fun & keep warm!
Please remember photography at night, in the dark, at -25º (sometimes colder) can be extremely testing, even for the more serious photographers. Solving problems with your camera, changing batteries etc. all become a lot more difficult. You will be far happier using a well-established company with dedicated locations and experienced guides. Access to a fire, a warm drink and an expert opinion are key to a successful aurora hunt in the Arctic. Our guides carry many spare batteries and can change them in seconds. The colder it gets the more batteries are required, the most I’ve changed is 34 in one night with 10 guests. Having your worries and camera troubles solved quickly are paramount to a wonderful photography adventure. As luck would have it, Lights Over Lapland is among the highest rated aurora tour providers on the planet with a team of professionals which we believe are the best in the business. You can read more about what separates our team of world class guides from the competition in one of our previous blogs.
There you have it! Now that you know the basics why not book an aurora photography tour with Lights Over Lapland and let our team of professionals make your dreams of photographing the northern lights come true?
